


I still remember the moment I first draped my newly finished Sunshine Quilt over my couch.
The vivid hues of yellows and oranges caught the light just right, and I felt an immense wave of pride wash over me.
It wasn’t just a quilt for me; it was a tapestry of joy, stitched together with memories, laughter, and inspiration gathered from sunshine-filled days and good friends.
As I flipped through the pattern for the Sunshine Quilt, I recalled the late nights spent cutting fabric pieces, the soft hum of my sewing machine, and the thrill of watching my artistic vision come to life.
Creating this quilt was not merely a project but a celebration of everything bright and cheerful, an experience I cherished deeply.
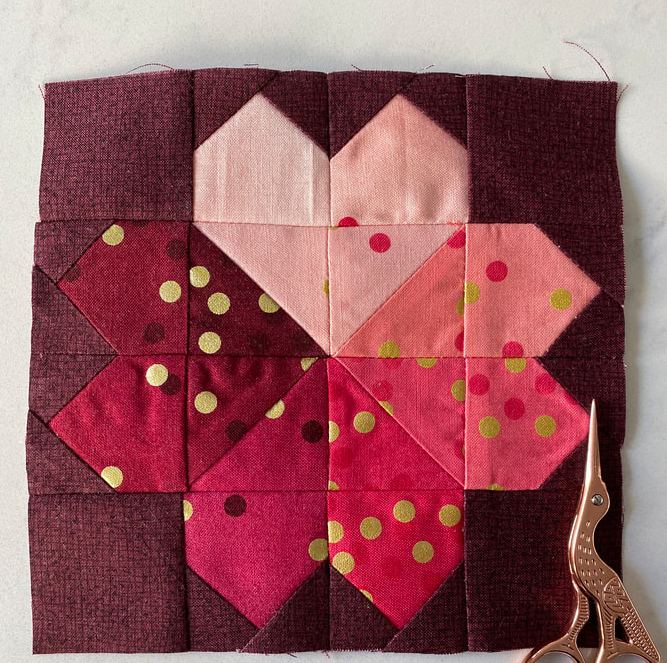
The Sunshine Quilt: A Burst of Color in Every Stitch!
The Sunshine Quilt is not just a pattern; it’s a metaphor for warmth and positivity.
Each patch symbolizes a sunbeam, pulling inspiration from bright summer days and their cheerful ambiance.
When I decided to take on this pattern, I wanted to create something that not only served as a cozy blanket but could also lift the spirits of anyone who laid their eyes on it.
As I embarked on this vibrant journey, I learned so much about color theory and design concepts.
The combination of shades and the placement of light tones against darker ones brought forth a delightful harmony, making the Sunshine Quilt a statement piece in my home.
This awareness of colors enhances my journey in quilting, and it might just do the same for you!
Let’s Gather Our Supplies!
- Assorted cotton fabrics in bright yellows, oranges, and whites (approximately 2 yards each)
- Coordinating thread (preferably in a neutral color)
- Rotary cutter and mat for precise cutting
- Ruler for measuring and straightening edges
- Seam ripper (just in case of emergencies!)
- Iron and ironing board for pressing seams
- Batting and backing fabric (approximately 3 yards)
- Quilting pins to hold pieces together securely
- Your sewing machine (or a needle and thread if you’re going the hand-sewn route!)
Having a solid arsenal of materials can make a world of difference in your Sunshine Quilt-making experience.
I like to lay everything out on my crafting table in an organized manner, ensuring that it is aesthetically appealing while being functional.
Plus, it’s super motivating to see all those bright colors ready to be transformed into something amazing!
Before you launch into making your Sunshine Quilt, consider prepping your fabric.
Wash and dry your cotton fabrics to pre-shrink them, ensuring your quilt maintains its size through the years.
Ironing out any wrinkles beforehand will make cutting and sewing a breeze, giving your quilt a polished and professional finish.
Let’s Get Those Creative Juices Flowing!
Below are the step-by-step instructions that will guide you through this exciting project.
Don’t forget to check out the complete pattern linked below for additional details that’ll make your journey smoother and more enjoyable!
Full Pattern: Click Here
Additional Tips for Seamless Quilting!
As we dive deeper into creating the Sunshine Quilt, here are some thoughtful tips I picked up along the way.
Always double-check your seam allowances; consistency is key to a well-structured quilt.
Using a walking foot on your sewing machine can help navigate those multiple layers seamlessly, reducing the chances of your fabric shifting during the piecing process.
Moreover, don’t shy away from practicing on scrap pieces before committing to the actual quilt fabric.
It’s a fantastic way to test out your sewing speed, tension settings, and even different stitches without the pressure of ruining your colorful patchwork.
Trust me, this prep will save you time and heartache!
Leveling Up Your Quilt Game!
If you’re feeling adventurous, consider incorporating advanced techniques to personalize your Sunshine Quilt.
Techniques such as free-motion quilting can add a level of artistry that transforms your quilt into a truly unique piece.
Explore using different quilting patterns—swirls, loops, or meanders can all add texture and depth!
Additionally, ponder ways to embellish your quilt once you’ve mastered the basics.
Adding embellishments like embroidery, fabric paint, or even patches can further enhance the vibrant atmosphere of your Sunshine Quilt.
Remember, the sky is the limit when it comes to creative expressions!
Celebrate Your Quilting Journey!
As we wrap up this colorful endeavor, I want to encourage you to take a moment to step back and admire the imaginative piece you’ve created.
Each stitch tells a story—of patience, creativity, and the excitement of bringing a vision to life.
The Sunshine Quilt is not just a fantastic craft, but a source of warmth, and I hope it continues to brighten your space.
If you’re hungry for more inspiration, why not dive into other exciting articles on my blog?
With a treasure trove of ideas waiting to be explored, I guarantee you’ll find delightful new projects to embark upon.
Connect with your creative side by clicking here.
Happy quilting!


