


There’s nothing quite like the burst of joy that comes from wrapping yourself in a cozy quilt you made with your own hands.
It all began on a rainy afternoon when I stumbled upon a pattern that spoke to me—the Whimsical Gardens Quilt.
I can still remember the feeling of anticipation as I gathered my fabric, each piece vibrant and full of potential.
That day sparked a love affair with quilting that has grown ever since.
Creating my first Whimsical Gardens Quilt was more than just an art project; it became a personal journey of discovery.
The excitement of choosing colors, the soothing rhythm of cutting fabric, and the satisfaction of seeing the pieces come together made the entire process a delightful adventure.
Whether you’re an experienced quilter or a beginner, I want to share my love for this cheerful quilt pattern with you!
Finding Joy in Every Stitch
The Whimsical Gardens Quilt is not just a pretty project; it’s an opportunity to explore creativity while honing your quilting skills.
This pattern is perfect for showcasing colorful fabrics, allowing your imagination to flourish.
Plus, it’s versatile!
The design can be adapted to various themes, making it an ideal choice for different seasons or personal styles.
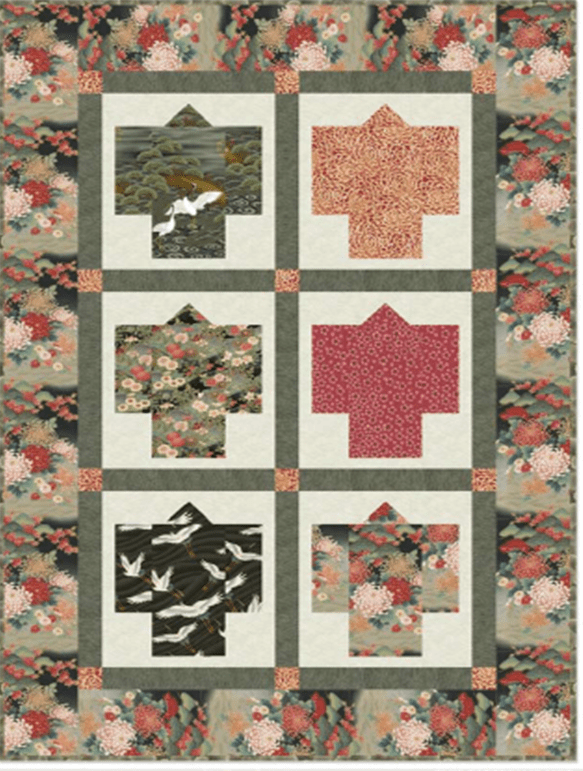
Each square in the Whimsical Gardens Quilt tells a story, with vibrant fabrics coming together to create a cheerful tapestry.
The combination of floral and abstract patterns lends itself to unique layouts.
Once you get started, the possibilities seem endless.
You’ll find yourself lost in the joyful creation of this lovely quilt.
Unleashing Your Inner Quilter
Before diving into the magic of quilting, let’s chat about selecting the right materials for the Whimsical Gardens Quilt.
Choosing quality fabric is essential, as it influences the quilt’s durability and appearance.
You might opt for cotton for its versatility, softness, and ease of use.
Don’t forget to pick a batting that complements your desired warmth and patchwork design.
Additionally, gather quilting essentials like thread that matches your fabric, rotary cutters for smooth edges, and sharp scissors.
I recommend investing in a self-healing mat and a clear ruler for accurate measurements.
Having everything organized and ready will set you up for success!
Prepare for Success
A little preparation can go a long way in quilting!
Before starting the Whimsical Gardens Quilt, take the time to pre-wash your fabrics to prevent any shrinkage later.
Iron out the wrinkles for a smooth quilting experience, making your pieces easier to work with.
Trust me, you’ll thank yourself later when you don’t have to deal with puckered fabric.
Next, familiarize yourself with the pattern!
Read through the instructions thoroughly; understanding the steps will save you time and prevent any frustrating surprises.
Make notes on tricky parts or jot down questions to research as you work through the quilt.
Step-by-Step Instructions:
Below, you’ll find detailed, step-by-step instructions for creating the Whimsical Gardens Quilt.
These instructions will guide you through each phase of the process, helping you enjoy the journey without getting overwhelmed.
The complete pattern, complete with illustrations, can be accessed via the provided link.
Full Pattern: Click Here
Additional Tips for Quilting Success
As you embark on creating the Whimsical Gardens Quilt, keep these extra tips in mind!
A quarter-inch seam allowance is crucial for accurate piecing, so be diligent with your measurements.
Using a walking foot can help prevent any fabric shifting during sewing, ensuring that your points line up perfectly and maintain the quilt’s beauty.
Whenever possible, press your seams open or to one side, as this will help keep your quilt layers flat and neat.
Take your time transitioning from one step to another; patience is key to achieving a beautiful finish.
And, most importantly, don’t fret over small mistakes!
Embrace the imperfections as character—each flaw tells your quilting story!
Exploring Advanced Techniques
Once you’ve created your first Whimsical Gardens Quilt, you might be excited to delve into more advanced techniques.
Consider learning about free-motion quilting, where you can stitch your designs and patterns under the needle without the constraints of marked lines.
This method allows for complete creativity in decorating your quilt’s surface.
You might also explore more intricate piecing methods or even try adding appliqué elements to the Whimsical Gardens Quilt.
This can really bring it to life by introducing different textures and visual stories within your quilt!
Experiment with layers and embellishments—wider creativity is at your fingertips!
Celebrate Your Creative Journey!
As you stitch the last pieces of the Whimsical Gardens Quilt together, take a moment to pat yourself on the back.
You’ve created a beautiful work of art that represents your creativity and effort.
Embracing your crafting journey is as vital as completing the quilt itself.
Remember, each quilt serves as a reminder of your growth and love for this craft.
If you’re ready for more inspiration, explore the treasure trove of articles available on the blog.
With a myriad of projects waiting to be discovered, I’m sure you’ll find something that ignites your creativity.
You can check out a fantastic piece I’ve prepared for you by clicking here.
Happy quilting!


